
SUPPLIES:
Mod Podge
Paint Brush
Printed Paper "Words"
Wrapping Paper or Scrapbook Paper
Sand Paper
Paint
Scissors
Block--Any Size
Embelishments-optional
Hammer - optional
Nail - optional

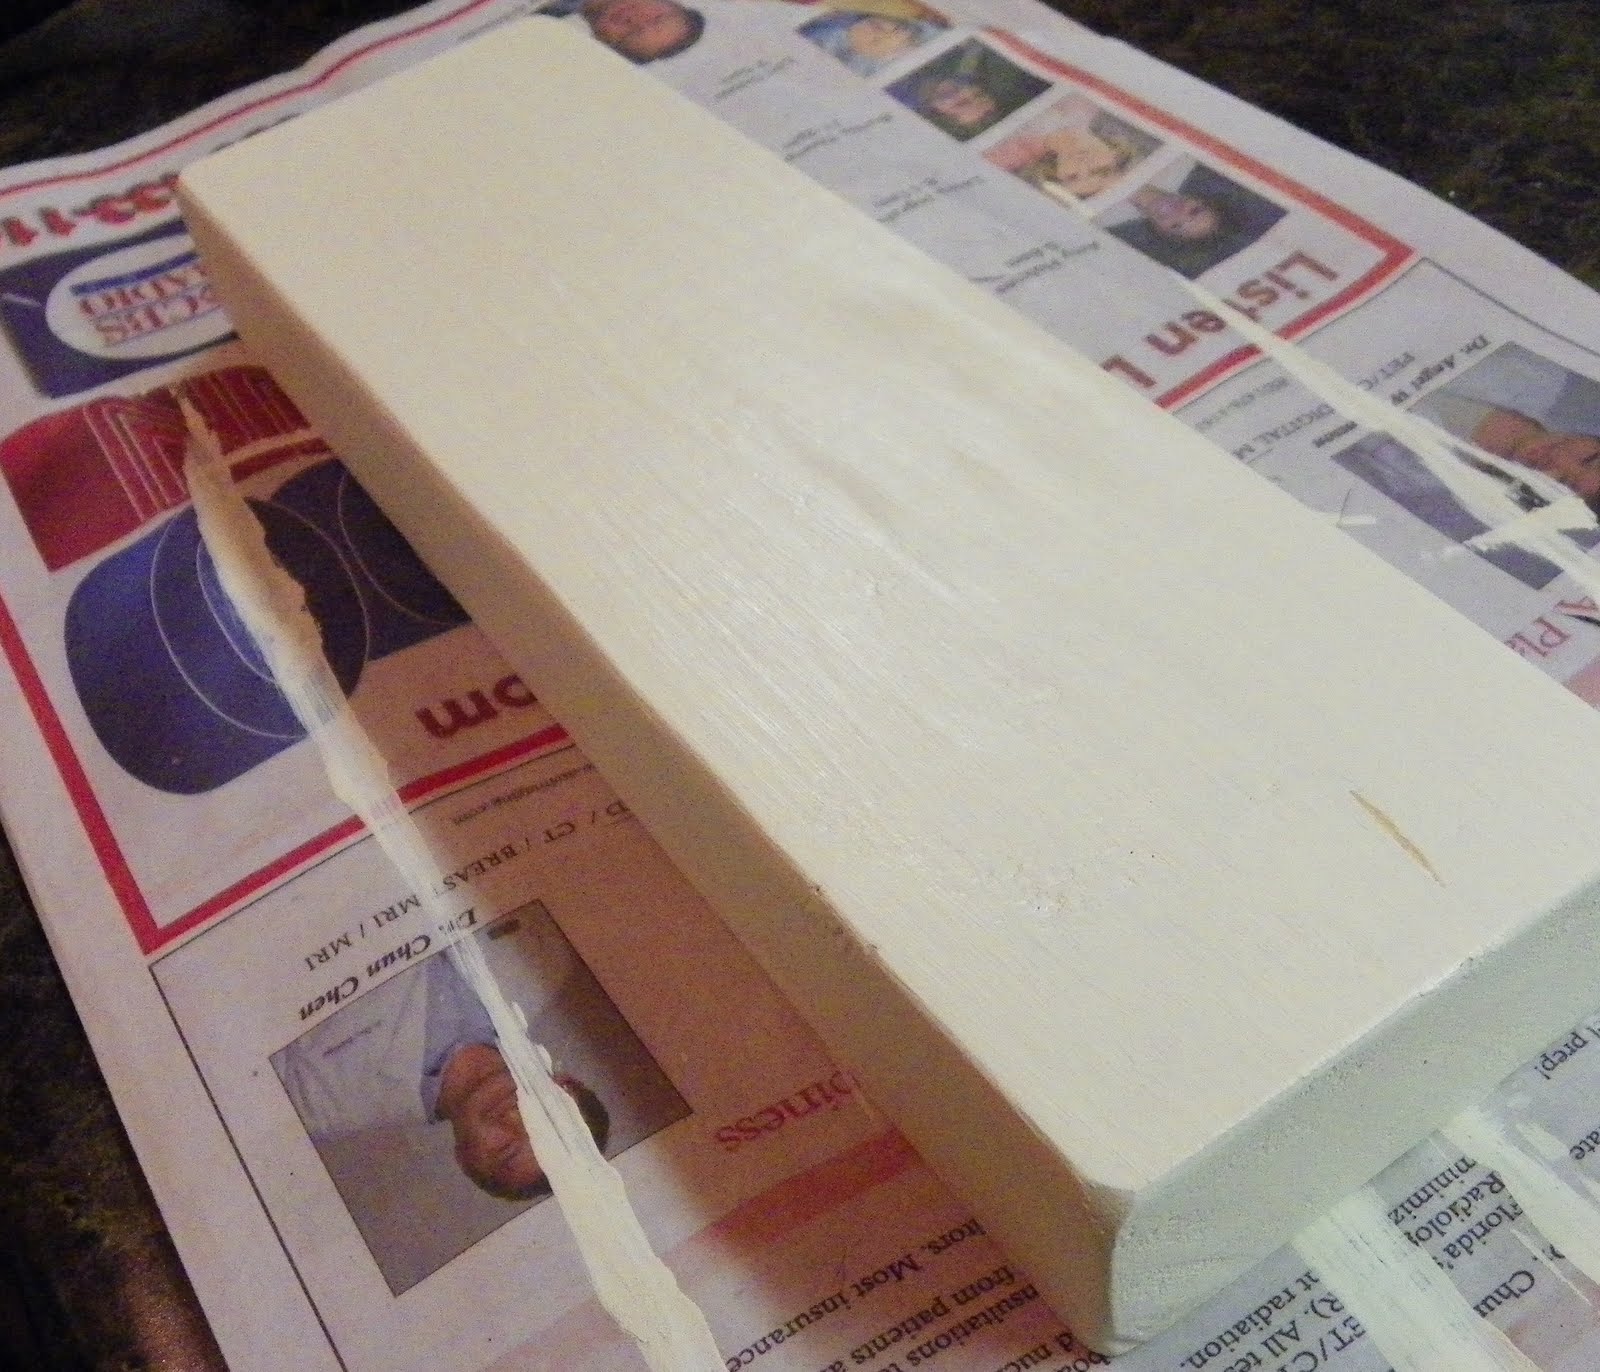
- I took the board and sanded it lightly giving a little extra sanding to the corners and edges to round them.

- I painted it vanilla or cream colored and then lightly rubbed the sandpaper over the edges and corners to give it a rustic look. I also took a nail and a hammer and punched a few holes in the board at random places.
- I measured the length of the board and the width. I printed two pictures with similar coloring and made sure the size of the image was less than 4' wide and the length was proportionate to the width, but not so long that I couldn't use them both with a gap between for lettering. I placed them on the board to make sure they fit properly and trimmed the items as needed.

- Once I printed the pictures, I cut them out and spread mod podge to the back of the picture as well as to the board. Then I placed the picture on the board and covered the top with Mod Podge to seal it. I added a rectangle of a scrapbook paper between the pictures and printed the names cutting them to fit over the scrapbook paper. I followed the procedure for Mod Podge for the scrapbook paper and then the names on top. I covered all sides of the board with the Mod Podge create a shine over the entire board and allowed it to dry.

- I guess I could have embellished it with a multiple of things, but I kept it plain for now. This can be done with blocks or any sized boards.
- This would be great for a door stop if you attached a small flat or triangular strip of wood to the bottom or backside of the board.