Tuesday, April 19, 2011

Pictures on Board

I was rummaging through our little shed and found a piece of cut wood in my husband's tool box. It was a section of a 2x4 so I grabbed a piece of sandpaper and went in the house with it. My hubby was laughing at me all the way.


SUPPLIES:
Mod Podge
Paint Brush
Printed Paper "Words"
Wrapping Paper or Scrapbook Paper
Sand Paper
Paint
Scissors
Block--Any Size
Embelishments-optional
Hammer - optional
Nail - optional


  • I took the board and sanded it lightly giving a little extra sanding to the corners and edges to round them.

  • I painted it vanilla or cream colored and then lightly rubbed the sandpaper over the edges and corners to give it a rustic look. I also took a nail and a hammer and punched a few holes in the board at random places.


  • I measured the length of the board and the width. I printed two pictures with similar coloring and made sure the size of the image was less than 4' wide and the length was proportionate to the width, but not so long that I couldn't use them both with a gap between for lettering. I placed them on the board to make sure they fit properly and trimmed the items as needed.


  • Once I printed the pictures, I cut them out and spread mod podge to the back of the picture as well as to the board. Then I placed the picture on the board and covered the top with Mod Podge to seal it. I added a rectangle of a scrapbook paper between the pictures and printed the names cutting them to fit over the scrapbook paper. I followed the procedure for Mod Podge for the scrapbook paper and then the names on top. I covered all sides of the board with the Mod Podge create a shine over the entire board and allowed it to dry.


  • I guess I could have embellished it with a multiple of things, but I kept it plain for now. This can be done with blocks or any sized boards.

  • This would be great for a door stop if you attached a small flat or triangular strip of wood to the bottom or backside of the board.


Monday, April 18, 2011

Easter Last Minute Ideas


Well, I am finally getting to scan sites for something to work on in my spare time... as if I have any. We had been gone all evening and my husband who just got a puppy a few months ago, but has been too busy to help with him was warned to take the dog out tonight. I was soaking my hurt foot so I couldn't. He decided it was much too important to play on the computer while watching tv and laying down. So I proceeded to tell him that it would be his mess to clean up if there was one. And well needless to say, there was. LOL. Even though I had warned him and he disagreed, I decided to be nice and help him clean up. After starting to help him I found that he was mad about having to clean the floors and he wasn't being nice at all. As a result, I quit helping and I decided to browse craft sites instead. So here I am enjoying all the wonderful and beautiful sites out there feeling pretty complacent or satisfied. Smiling all the while from ear to ear and finally enjoying some quiet time.


As I was browsing through sites I came upon some Easter crafts. Easter is coming up here in a few days, so I thought I would share the sites with you for some cute last minute ideas to decorate your table, baskets, or just because you like them crafts!


Picture as shown on the "Increasingly Domestic" website address of: http://increasinglydomestic.blogspot.com/2011/04/upcycled-candle-jars-to-candy-jars.html?spref=bl .


This project is simple and easy. It requires candlesticks, E6000 glue, and any type of glass jars with or without lids depending on what you plan to fill them with! I love this idea! I wish I had candlesticks right now, but maybe a trip to the $ store is do-able for tomorrow :) heehee.


Below you can find some cool egg dyeing tips and decoupage ideas for decorating them! I found this picture and idea at the blog by "Design Mom" located @ http://www.designmom.com/ .


Picture by Design Mom


BELOW:  I found a great idea that I am going to take full advantage of tomorrow for sure--as I do have everything I need for it. These paper mache eggs filled with treats are so awesome! I just love decoupage!


For teens or tweens, you can even add some money inside some of the eggs or make a treasure hunt filling them with clues leading to a grand prize at the final hiding spot! I know my 20 year old still hunts eggs and will be coming by on Easter for our family gathering! LOL.


This tutorial and picture can be found posted on the blog by "Not Martha" located @ http://www.notmartha.org/tomake/papiermacheeastereggs/

papier-mache easter eggs
Picture by Not Martha

Need faux grass in a hurry? You can run through the shredder any kind of wrapping paper, tissue paper, or colored paper that you can add to your children's baskets or decorative items in a snap! I found this idea on the "Martha Stewart" website.
I also found this picture of daffodil candy cups (above) and tutorial for the idea along with many other last minute ideas listed on the "Martha Stewart" website located at: http://www.marthastewart.com/article/daffodil-candy-cups?backto=true&backtourl=/photogallery/last-minute-ideas-easter#slide_3
I just made a quick pattern with a heavy weight paper and cut it out.  Then I used a glue stick to add a cupcake liner and filled it with candy! You can also add a cute tag to it! There is a quick and easy pattern on Martha Stewart's website you can use.  The address for a template can be located at: http://images.marthastewart.com/images/content/web/pdfs/2011Q2/msl_0411_daffodil_candycups.pdf

Friday, April 15, 2011

Kara's Best Banana Pudding

Every Easter, it is my duty to whip up some banana pudding for the family. I make this large recipe and I never get to bring home any leftovers. I think its one of the few things that actually gets devoured at our gatherings completely. It is not for the health conscience. That is why I only make it at Easter and probably why it gets devoured!

Click to play this Smilebox recipe
Create your own recipe - Powered by Smilebox
Free recipe card design personalized with Smilebox

Tuesday, April 12, 2011

How to Make a Masquerade Mask

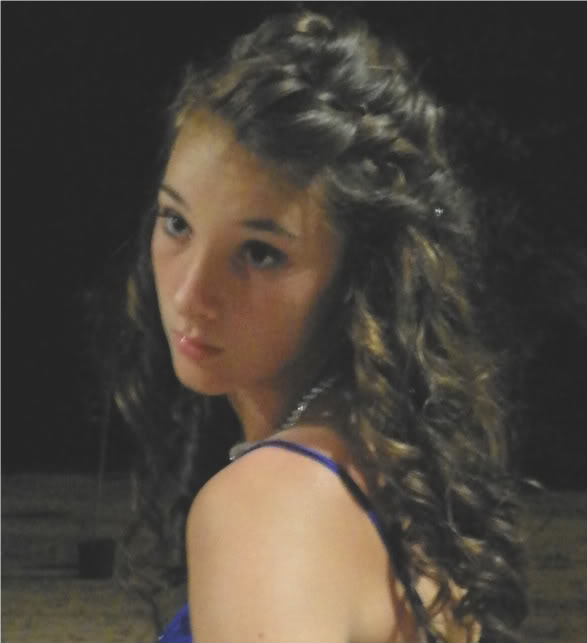
My daughter came home a little over two weeks ago and said that her school was having a middle school prom. I was like, "Okay when?". She told me most of the girls were wearing the shorter prom dresses and to top that off we had less than two weeks! I panicked. You have to understand my daughter is 5'10" tall so a normal length short dress is higher than mid thigh on her. We went shopping with friends and after many hours and many dresses later I was feeling frustrated and so was she. We decided to head home, and as we approached a bridal store, I suggested we stop real quick--someone else might have I can't remember exactly. Anyway, we did stop and they had a dress that was perfect for my daughter. It was long enough and did not show cleavage which was what we were or should I say...I was looking for :). She liked it well enough so we bought it and off we went. 

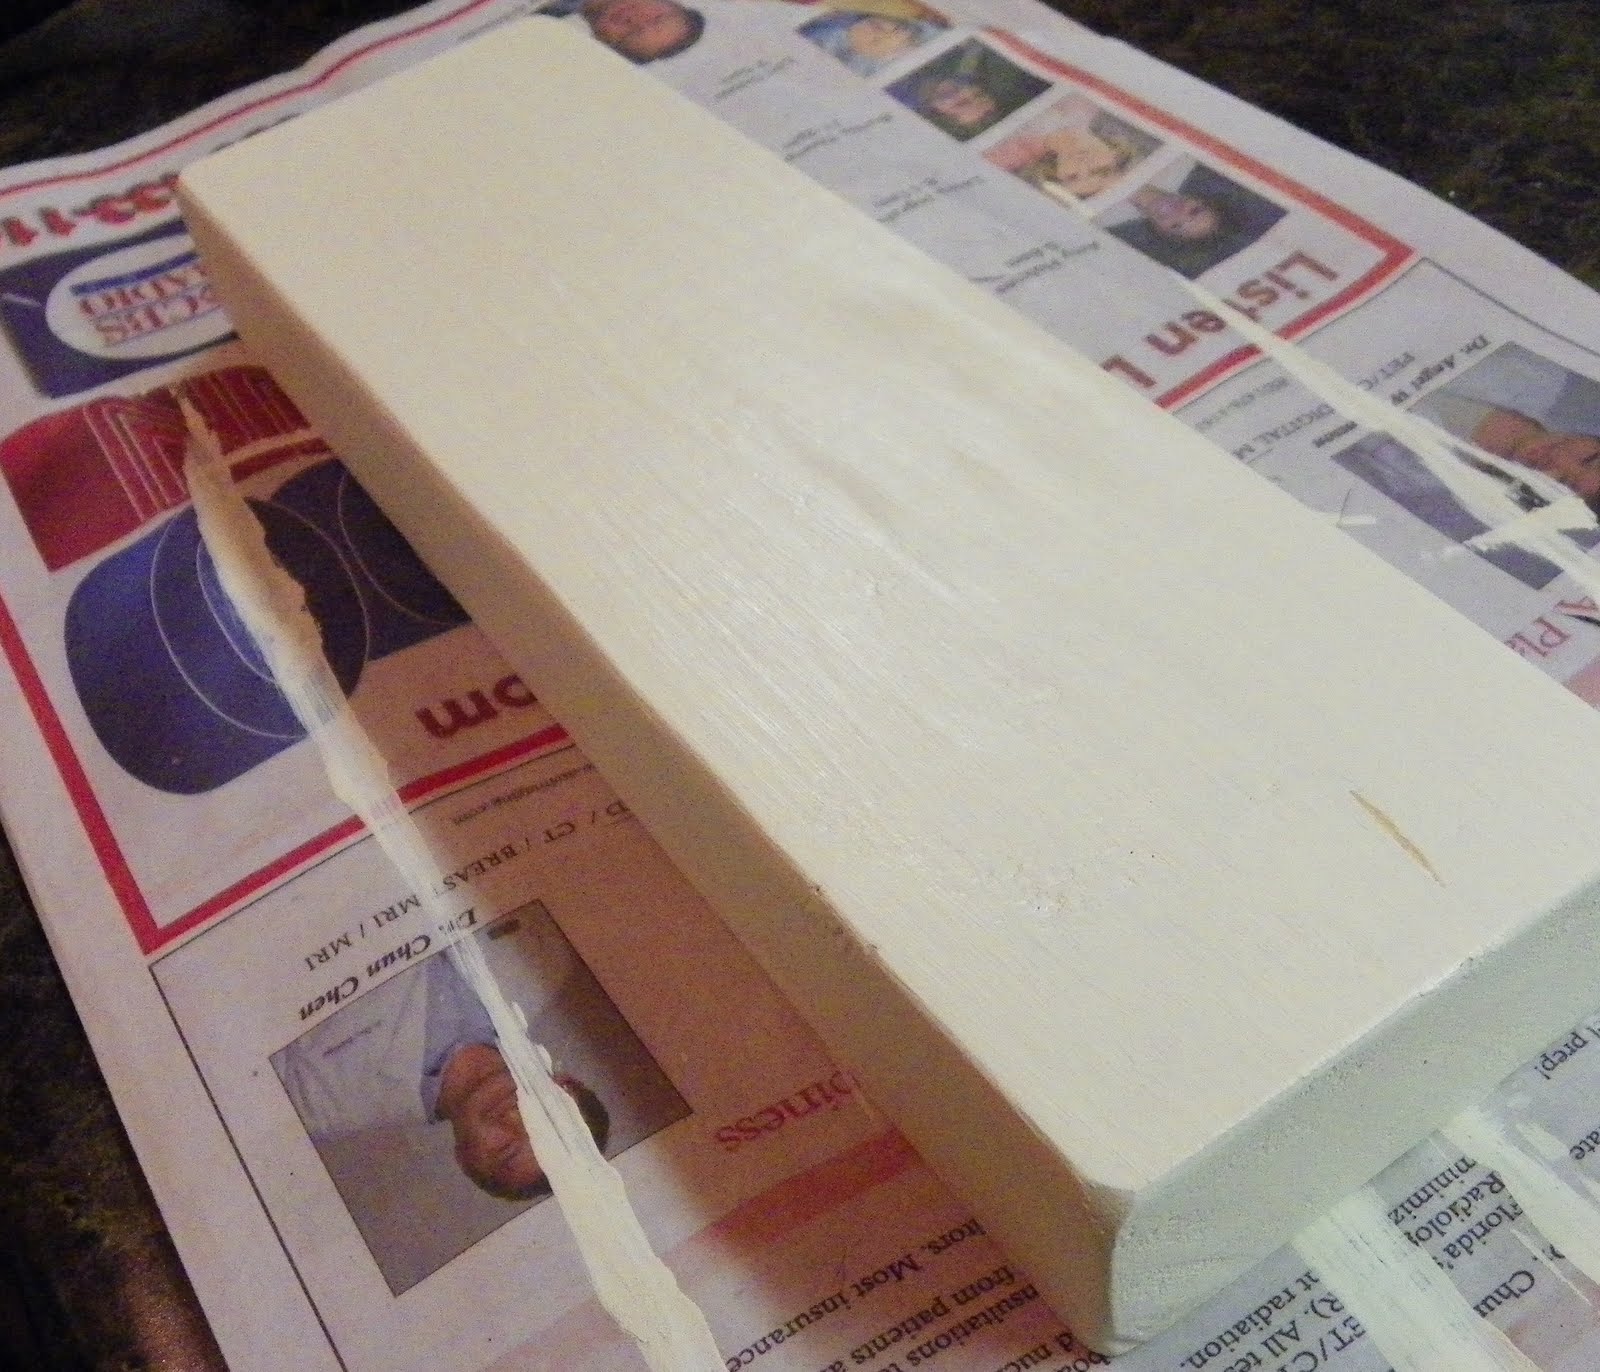
If you are planning to go to a Masquerade Ball, Party, Mardi Gras, or need a Halloween Mask, you can do this at home possibly with materials you already have available.  Another option is to purchase a primed or painted mask from an art store to decorate with different embellishments and glitter. Take the roll of aluminum foil and pull out a long strip from 18 inches to 24 inches long. For a zorro type mask, fold one end over and press making a rectangle approximately 3 inches wide with the rest of the roll attached repeat this process until you have a rectangle with 6-8 layers of foil. For any other shapes,   make the width more than 3” depending on what you are trying to achieve. You can always cut some off, but it’s hard to add to it J.
If you want a Zorro mask, then cut sides of the rectangle to make it approximately 7 ¼” long with the 3” width.  For all others, cut the shape you prefer. See the picture at the bottom of the tutorial for the “Zorro” type.
Once you have the rectangle with rounded edges, cover the cut edges with masking or paint tape. Now whatever shape you decide upon for the sides, the next step is to figure out the placement of your eyes. Place the mask on your face over your eye area and firmly press it to mold to your face. Be sure to press over your eye area. Remove the foil mask and you should see indentions where your eyes are. Find something handy that is round and flatten the mask placing the round object like a coin, peppermint, bottle top, etc. over the eye area. It won’t be perfect, but in the end no one will notice. Outline the circle and cut out the eyes. Once the round object is cut out, and then cut off the left and right side of the circle “<” and “>” to make the corners of your eyes.


Now make sure the work area is covered and remold the mask to your face again. Once this is done prepare your strips of newspaper and paper mache. You will need to use either Mod Podge, a glue/water mixture, or one part flour and two parts water mixture. Dip a strip of newspaper into paper mache, and pull the strip through two fingers to remove any excess. Make an “X” over the top of the nose crossing over and ending above the eye on each side. This makes the mask a bit stronger. Now cover the rest of the front with paper mache and newspaper. Make a nice heavy layer with the paper mache overlapping covers the mask.
Now reform the mask to your face and lay it down or prop it up on a dry piece of newspaper to dry overnight. Repeat the process two more times ending with 3 layers of paper mache.
Once you have your form, you can punch a hole into each side using an ice pick, nail, or something that would leave a small hole for the elastic. Paint the mask with your color and paint of choice. When you are done painting the mask then you can either apply a varnish, Mod Podge, or a spray sealer over it. Add trim, feathers, rhinestones, glitter glue, flowers, and other types of embellishments or accessories using hot glue.


Attach elastic to fit tight around your head through the holes and tie the ends off. It doesn’t hurt to add a bead of hot glue to the inside of the mask and press the knotted end into it for extra strength.   If you prefer to hold the mask, then attach to one side a covered or painted fireplace match with the end cut off, a dowel rod, or chopstick. Attach with hot glue and embellish with ribbons, etc.
Beautiful Belle of the Ball!


My daughter's good friend Taylor came over and made this one with a plastic mask from Hobby Lobby. Taylor added glitter, rhinestones, wire, beaded embellishments, trim, and feathers! A super easy way to personalize one quickly!

Sunday, April 10, 2011

Grecian Hairstyle Half Updo for Prom, Weddings, Homecoming

This works best on long hair that is medium to thick. The curls hold longer and it is easier to work with. Pull the top 3/4 of the hair up and clip it on the head leaving the bottom 1/4 of hair down. Now start curling the hair next from the top of the strand to the bottom if possible. Spray each section to protect the hair then curl to create long curls that twist backwards. Using either a curling iron, flat iron, or ringlet iron along each section around the base of the hair to create ringlet curls. Once the base is completed, let down another 1/4 of the hair and repeat this until all of the hair is curled.

Now, keep the front section of the hair down and loose. Pull the rest of the hair on top backward and make a small snooki at the back of the head on top. That is take a few sections on top toward the rear of the head. One section at a time, tease the under area from the scalp up about 2 inches using a comb or brush. A special comb can be purchased at the local beauty supply that has three rows of teeth and works great for this step. Be careful not to overtease, the end goal for teasing the hair is to add body at the top rear of the head making the bump or snooki.

Next take a section of hair that frames the entire face, leaving it loose and pull it forward. Clip it out of the way. Start making soft rolls towards the back of the head. The first row will follow the hairline of the clipped and tucked away section that was previously created. THis will make two rows going from ear to ear across the top of the head. The rows behind it will go from front to back. It will sweep from the top down the side toward the ear. Once this is complete, follow behind it with additional rows that go from the front to back of the area being working on. The back side of the rolls will be pinned in various places. Once this is completed all of the rows will end at the back of the head and pinned. Now pin loose curls here and there from the rear crown of your head to the middle rear of the head to make it full. Leave from the midsection down to the base loose.

Now, for that front section that is clipped forward. Make a small part in the hair for that section only. Start with the shorter side and split the section of hair into two strands for a rope braid. This is similar to a french braid, but uses only two strands instead of three. This is a much easier braid. Cross the two strands. Add more hair to the strands and cross the sections again. Repeat this until the rope braid is complete and it is near the ear. For the longer or opposite side, make a rope braid that goes a little more than half way towards the ear and pin it. Make a second rope braid starting just above the eyebrow and follow that towards the ear using the cross and add process. Pin the ends. 


Once finished, the hair should have pinned curls, rolls, and rope braids except for the base hairline which was left down. To finish, either pull your hair to one side pinning it to stay so it cascades across the shoulder; make a loose ponytail covering the rubber band with a section of hair and pinning it; or leave it to cascade down the back which is what is in this picture.

This young lady was very subconscious about her ears, so some of the hair was removed from the rolls and braid to cover the ears and the rest was left loose to hang. Add some rhinestones, flowers, or other hair accessories to the back and sides of the hair to follow the theme of the dress and of course add lots of hairspray.


These pictures were taken after her event seven hours later. The hair took approximately 1.5-2 hours to complete.  Good luck!

Saturday, April 9, 2011

Photo in Watercolor

Photobucket
.
I have Photoshop Elements 9 thanks to mom and I am trying to figure it out. People say it is easy, but for a complete amateur, I am lost. Any helpful hints would be appreciated. I do have a book on the way!  I wanted to add a frame, but never did figure it out. :(
This was an old photo that I took of my garden in Colorado. I have been talking to my friend that was my next door neighbor there. She is having some issues that she is working through, and I have been missing being there. Plus it is really hot where I live back home in the south, and it is still a little cool there.

I thought this flowers were so pretty I had to get down low to snap this shot. It turned out to look really cool. I took this photo using PhotoShop Elements 9 and edited it using the watercolor setting. I loved the way it looked when it was completed.  It was really easy to use and upload on to the internet. I just need to get a book so I can play with this program more.

Whoopie Pie Recipe

These are so good! I noticed that Starbucks menu now has Whoopie Pies with Red Velvet cake...hmmmm sounds yummy!

Click to play this Smilebox recipe
Create your own recipe - Powered by Smilebox
Recipe card customized with Smilebox