Thursday, October 27, 2011

Bottlecap Magnetic Necklace DIY


Materials: Resin, quarter or 1" hole punch, decorative paper (magazine, scrapbook, printed picture, etc.), glue, confetti or glitter (optional), tights, scissors,   washer(s), neomagnet(s), and bottlecap(s).


Cut out your circles using a quarter to trace and cut a 1" circle or a hole punch from a local craft store.


If you use a quarter, be sure to trim inside the line and check it to the bottlecap to fit it properly.


Add a small amount of glue to the back of the paper or into the cap and press the paper circle into the bottlecap.


Mix the resin according to the package instructions. It is 1:1 ratio for mixing. Fill the cap no more than halfway with the resin. Allow 24 hours to dry.


Cut off the leg of tights. Discard the foot and panty part.  I suggest go to a queen in size for adult chokers. I used a small size from the womens' department and it really is a choker! Cut a 1" band off the top of the leg. 


 Pull on the band a bit to stretch it out, and it will roll up automatically.


Push the loop through the washer.


The smaller part that you pushed through the washer will go through the larger loop.


Pull tight.


Add your magnet to the back of the bottlecap. Don't use the black ceramic ones.


Go to your local hardware or department store that carries magnets and get a Neo Magnet.  These magnets are really strong. They are slim in design and silver. Glue this to the back of the bottlecap and let it dry completely.


Add the two together.


And you are ready to wear it. Make as many bottlecaps as you want and swap them out!

-K

Chippy Paint Frame Board


I had this old board taking up space in my art room that I needed to do something with. While surfing around on the internet, I found some cool tutorials for distressing with Vaseline. I also found an image of a frame with writing on it displayed on a blog, but I didn't pin it, and forget where I saw it at. So I am trying to make a copy of that wall hanging, but with photos instead.


I made a trip to Lowes and picked up two boards to go with my 54x16 board.


Luckily for me, I brought the board with me and he cut the four pieces I needed for the top, bottom, and both sides.  How nice they are at Lowes!


I got the original board with the newly cut 1x4s and I picked up a 1/4x2x4 for another project :).


I centered it up and marked the places. I flipped it over and lined it up again.


I added a few small finishing nails to hold the pieces together (outside on the concrete).


I didn't actually nail on the tile floor, but it is dark outside, so I am coming in and out of the house giving the bugs a fighting chance to make it inside before the winter comes. Quick follow the light!


I added Gorilla Wood Glue between the boards before adding the sides.


I made sure the sides are flush with the top and bottom. The sides are measured to 1.25 inches over the backboard to make the frame wider. 


I sprayed black paint on the board. Cover all of it to be safe, I didn't and learned the hard way.


Be sure to think of your pattern first. Put Vaseline in globs in those areas you don't want covered. Really concentrate on the edges and corners.


Spray paint it with your top coat of color. I chose white. I really wanted the look of layers of paint to make it look older, so I then took a satin finish house paint and painted it making it thicker in areas, but again that is what I was looking for.


I blotted the house paint over the Vaseline areas gently.


With a soft cloth or paper towel, wipe off the Vaseline once the paint is completely dry.


It will look like this initially.


I had some photos printed at Walmart, but you can print them at home. I prefer using photo paper and I was out.


Measure and align where you want the photos. Put a small mark on each side to remember your placement for the next step.


Add Mod Podge or Collage Podge to the board and the back of the photo in a light coat. Place the photo in its place.


Cover the top of the photo with a generous coating. It will look like this.


I added some smeared paint, but it wasn't necessary. I just like the look of it.


Add a hanger and you are done!!


SUBWAY SIGN SPORTS HISTORY

NOTE: (The images below have had the name and words scrambled and/or removed to protect an identity.)

Please forgive the crookedness of the photo :).

My daughter is athletic, and has a cluster of medals hanging from her wall in her room. I was so tired of seeing them hang there on push pens, etc across her wall, so I decided to make something to hang them on that would like more decent. 

I had been surfing the net and found the subway signs on canvas, but I thought "why not plywood and instead of addresses we can put a sports history"? It's cheap, I can get it local, and we can make it whatever size we want. So that is what I did! 

I made the actual print in MS Publisher. I used the banner format and chose my size. We started the top with "The Story Of Me..." and then her name below it. I have blurred her name, school name, etc. where you see parts missing. I left off dates where she can use a paint pen and complete the year she stops doing that sport so you will see "20" under 2011, etc. in places.

Then I emailed it to Staples. They notified me when it was done, and picked it up later. :) It cost about $3.50 because I had left it in black and white. They can go as tall as you want, but not over 3' wide. So EASY!

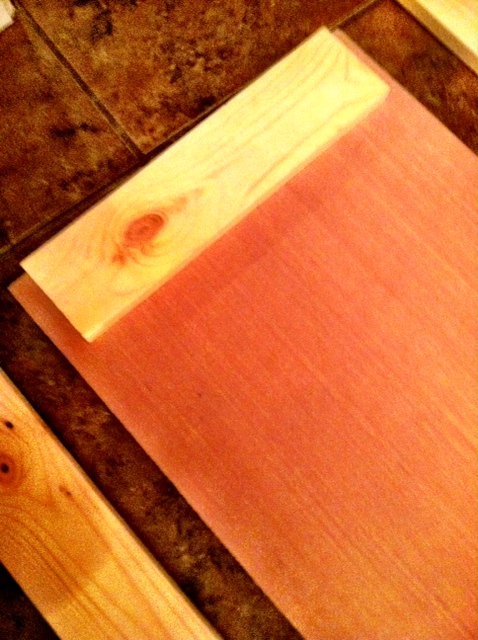
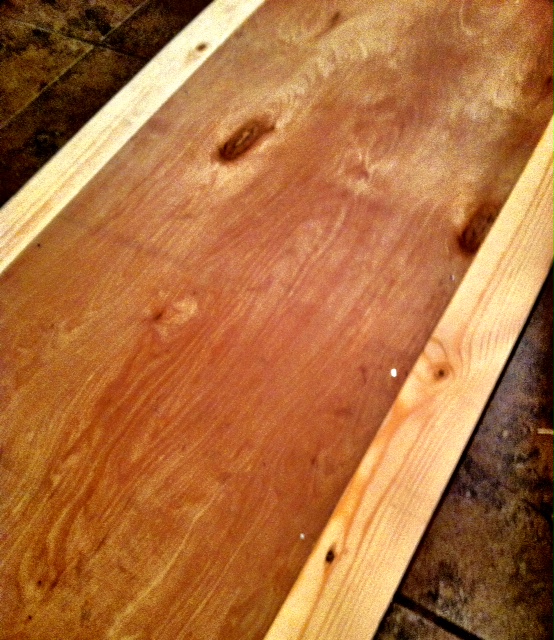
I first started with a 1/4"x2'x4' piece of plywood I picked up precut at Lowes. I lightly sanded the sides and edges to get rid of any roughness. I wiped it clean.


I used the board in the back :).


Next I painted the board with satin house paint I had on hand. I covered all sides and edges.


I covered the board's front side with a layer of Collage Pauge - Matte, which is like Mod Podge.


Once the Collage Pauge was on the board, I rolled out the print onto the top of it. I pressed the paper down as best as I could pressing out as many wrinkles as possible, but wrinkles are okay as long as they are not too big. I started drizzling Collage Pauge over it.


I spread the Collage Pauge over the top of the print and let it dry.


It looks like glue on it, but no worries, it does dry clear. This is the Matte version of the Collage Pauge.


I then added some black paint to a paper towel and smeared it around to distress it a little more. Make sure it is completely dry first. I was in a hurry and disregarded the drying process completely, so I tore my paper in a few places. This gives some of the words an older distressed look.

Where I had broken the paper during the distressing, I added a little paint to cover up the torn areas. You can't even tell where...


Once it dried, I gave it a sanding and wiped it down. It's really looking old now. :)


I am liking it already!

I kind of wanted a shiny look instead of Matte, so I put Collage Pauge Glossy over the top and let it dry.

Once it was done I really liked it without the medals, so I am going to make a separate board to hang just the medals. Plus the medals are on long ribbons and it could become cluttered.


I added a hook on the back and hung it up :). We love it!!


Our walls are really tall (10'). The wall height makes the subway sport sign seem smaller than it is. It really fits well on the wall!