Now, keep the front section of the hair down and loose. Pull the rest of the hair on top backward and make a small snooki at the back of the head on top. That is take a few sections on top toward the rear of the head. One section at a time, tease the under area from the scalp up about 2 inches using a comb or brush. A special comb can be purchased at the local beauty supply that has three rows of teeth and works great for this step. Be careful not to overtease, the end goal for teasing the hair is to add body at the top rear of the head making the bump or snooki.
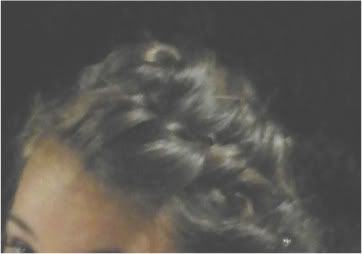 Now, for that front section that is clipped forward. Make a small part in the hair for that section only. Start with the shorter side and split the section of hair into two strands for a rope braid. This is similar to a french braid, but uses only two strands instead of three. This is a much easier braid. Cross the two strands. Add more hair to the strands and cross the sections again. Repeat this until the rope braid is complete and it is near the ear. For the longer or opposite side, make a rope braid that goes a little more than half way towards the ear and pin it. Make a second rope braid starting just above the eyebrow and follow that towards the ear using the cross and add process. Pin the ends.
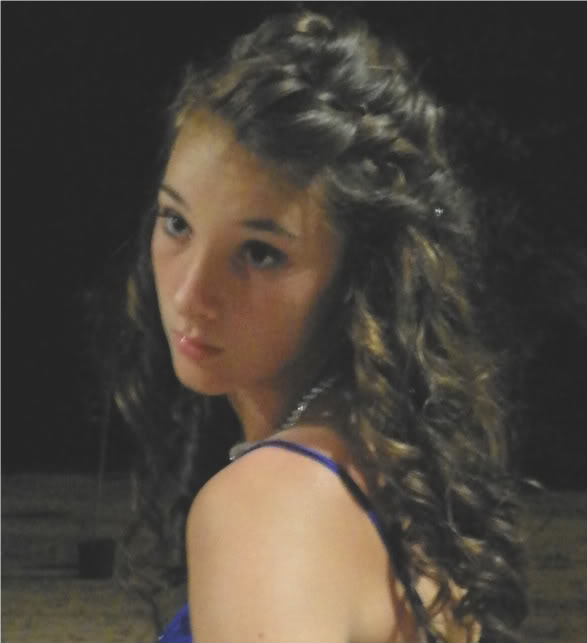
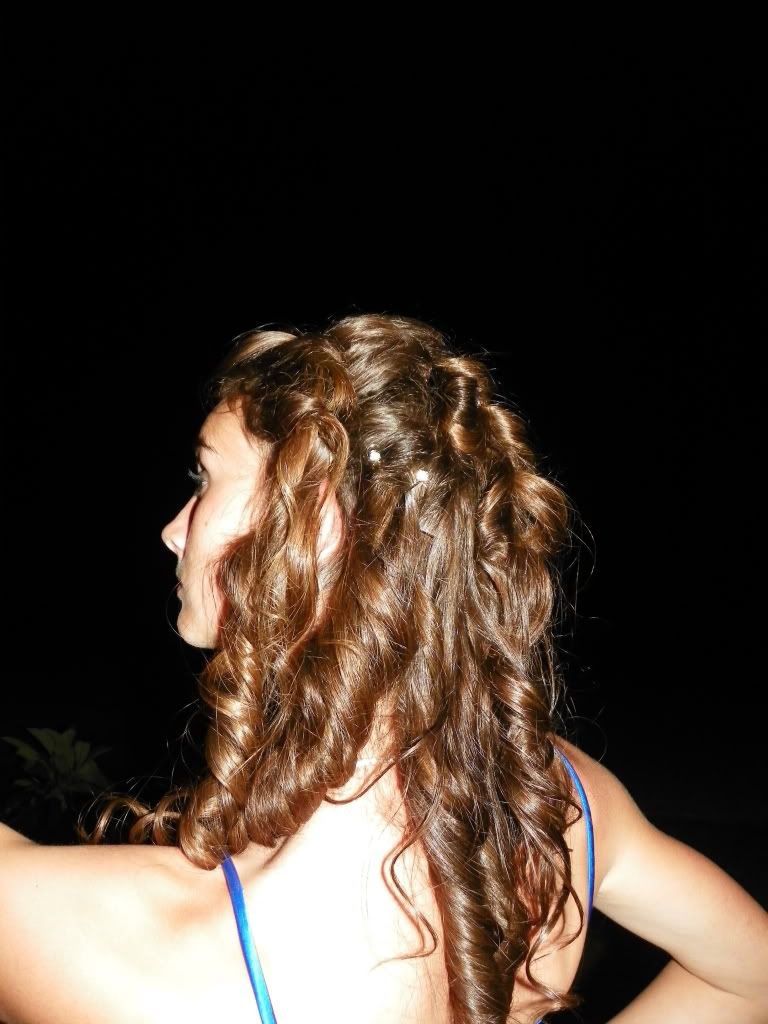
Once finished, the hair should have pinned curls, rolls, and rope braids except for the base hairline which was left down. To finish, either pull your hair to one side pinning it to stay so it cascades across the shoulder; make a loose ponytail covering the rubber band with a section of hair and pinning it; or leave it to cascade down the back which is what is in this picture.
 This young lady was very subconscious about her ears, so some of the hair was removed from the rolls and braid to cover the ears and the rest was left loose to hang. Add some rhinestones, flowers, or other hair accessories to the back and sides of the hair to follow the theme of the dress and of course add lots of hairspray.
 These pictures were taken after her event seven hours later. The hair took approximately 1.5-2 hours to complete. Good luck!