

I had this old board taking up space in my art room that I needed to do something with. While surfing around on the internet, I found some cool tutorials for distressing with Vaseline. I also found an image of a frame with writing on it displayed on a blog, but I didn't pin it, and forget where I saw it at. So I am trying to make a copy of that wall hanging, but with photos instead.

I made a trip to Lowes and picked up two boards to go with my 54x16 board.

Luckily for me, I brought the board with me and he cut the four pieces I needed for the top, bottom, and both sides. How nice they are at Lowes!

I got the original board with the newly cut 1x4s and I picked up a 1/4x2x4 for another project :).

I centered it up and marked the places. I flipped it over and lined it up again.

I added a few small finishing nails to hold the pieces together (outside on the concrete).

I didn't actually nail on the tile floor, but it is dark outside, so I am coming in and out of the house giving the bugs a fighting chance to make it inside before the winter comes. Quick follow the light!

I added Gorilla Wood Glue between the boards before adding the sides.

I made sure the sides are flush with the top and bottom. The sides are measured to 1.25 inches over the backboard to make the frame wider.

I sprayed black paint on the board. Cover all of it to be safe, I didn't and learned the hard way.

Be sure to think of your pattern first. Put Vaseline in globs in those areas you don't want covered. Really concentrate on the edges and corners.

Spray paint it with your top coat of color. I chose white. I really wanted the look of layers of paint to make it look older, so I then took a satin finish house paint and painted it making it thicker in areas, but again that is what I was looking for.

I blotted the house paint over the Vaseline areas gently.

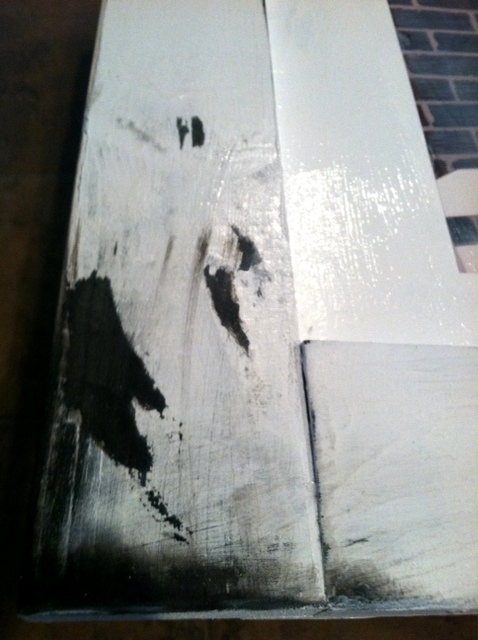
With a soft cloth or paper towel, wipe off the Vaseline once the paint is completely dry.

It will look like this initially.

I had some photos printed at Walmart, but you can print them at home. I prefer using photo paper and I was out.

Measure and align where you want the photos. Put a small mark on each side to remember your placement for the next step.

Add Mod Podge or Collage Podge to the board and the back of the photo in a light coat. Place the photo in its place.

Cover the top of the photo with a generous coating. It will look like this.
I added some smeared paint, but it wasn't necessary. I just like the look of it.
Add a hanger and you are done!!
